Ingredients
10g Rice Flour for dusting the banneton basket
11g Fine salt.
150g White Flour Starter/Mother
250g Lukewarm water (tap water is fine)
Equipment
Kitchen Scales
Brød & Taylor Dough Whisk
10-inch cast-iron Dutch oven
10-inch rattan round proofing banneton basket (dusted with rice flour)
Good oven gloves
Method
Day One
Place the Strong White Bread Flour and the salt (to prevent “accidents”, weigh the salt separately and then add to the flour). Now make a well in the centre of the flour.
In another container, weigh the mother/starter and add the water. Mix to a mixture that should now resemble double cream.
Pour the liquid mixture into the well in the flour and mix. Bring the mixture together using the dough mixer and then your hands if needed. Don’t overmix; you just want to bring things together until the flour has cleared — the point in mixing dough when all visible traces of dry flour have been gone as it’s been fully incorporated into the mixture.
Cover the bowl with a clean, damp towel and leave at room temperature for around 2–3 hours. After that time, place the bowl in the fridge for another 12–48 hours (at the very least overnight).
Day Two
Take the dough out of the fridge and let it come to room temperature with a minimum of two hours acclimatising. The dough will have increased in volume, be a lot firmer now, and resemble a proper dough. Now that the bulk fermentation is complete, it is time for the folding.
Folding
Pull the dough out of the bowl onto a floured board (not too much flour, as you don’t want to dry the mix).
Pick up one corner of the dough, pull gently up, and stretch and fold over to the opposite side. Work your way around the dough until all the corners have been folded over – about four folds should do it.
Turn the dough over and repeat the process, but this time you will feel the dough tightening, so be careful and don’t overwork or tear the dough. This will start to develop the gluten, reactivate the yeast and put air pockets in the dough. Put the dough back in the bowl and let it rest for another half an hour at room temperature.
When a half hour has elapsed, fold again as described above.
Rest for another half hour.
Now, take the dough from the bowl and place it on the board. Give the dough a gentle shape into a loose round shape. Cover and leave for a further 10 minutes.
Now, shape your dough into a nice, tight round by bringing the outside edges of your hands together (palms facing upwards in a cupping motion under the loaf as you turn it on the working surface). This will create a nice tension in the loaf.
Now, place the dough upside down – the nicely shaped top facing down into the proofing basket and let it proof for two to three hours at room temperature. Then place the basket in the fridge for an additional 8–12 hours — I normally leave it overnight, but have left it for a maximum of four days for an intensely tasting loaf.
Day Three
Take the basket of dough from the fridge and leave it to rise at room temperature for one and a half hours.
Put your Dutch oven with lid on in and turn your oven on to 250 degrees or gas mark ten — basically as hot as it will go. Then allow at least half an hour for the oven and Dutch oven to come up to temperature. Think, Hot. Hot. Hot.
Now for the tricky part, and I can’t stress this enough, the Dutch oven will now be very, very hot.
Place a board that has some baking parchment that extends from the sides of the basket on the surface over the proofing basket, and then gently invert the board and remove the basket.
You will now have the loaf sitting neatly on the baking parchment that extends on either side. This will enable you to lower into the Dutch oven without burning your hands.
Now, score the top of the loaf with your desired pattern using a razor blade.
Taking care and using oven gloves, remove the now very hot Dutch oven from the oven and place the loaf in it using the baking parchment “wings”. Replace the lid (don’t forget to use those oven gloves!) and bake for 25 minutes with the lid on. Then remove the lid and bake for a further 11 minutes, depending on how brown you want your loaf.
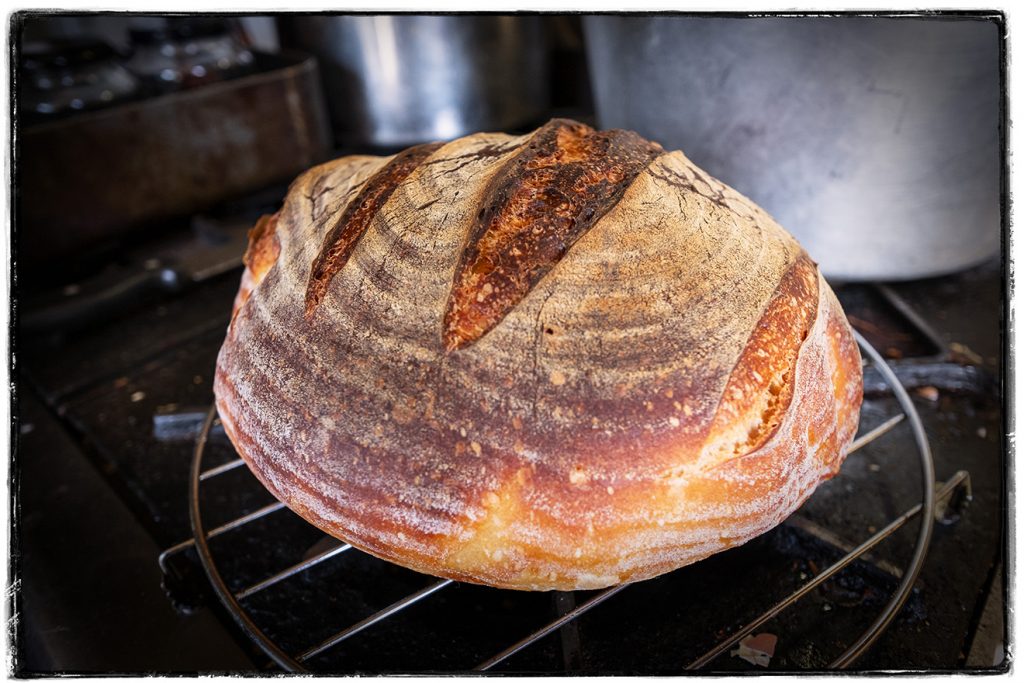
Once baked, and again taking care, remove the loaf, and allow your Masnegro sourdough masterpiece to cool on a rack. Also, pop the Dutch oven back in the oven to cool safely.
Leave a Reply